Ah right, I see. Ta Richard.
Flexible made me think of this stuff -> http://www.homebase.co.uk/en/homebaseuk ... 0wodWjYIYA
Black in colour too! Hmmmm! <rubs hairy chin>
DL8 modding
-
Dave the bass

- Amstrad Tower of Power
- Posts: 12276
- Joined: Tue May 22, 2007 4:36 pm
- Location: NW Kent, Darn Sarf innit.
#61 Re: DL8 modding
"The fat bourgeois and his doppelganger"
-
Dr Bunsen Honeydew

- Old Hand
- Posts: 1358
- Joined: Mon Sep 21, 2009 10:50 am
- Location: Muppet Labs
#62 Re: DL8 modding
Not the same, doesn't work. I didn't use it on drivers it was an experiment to do the opposite of steel on the inside of the cabinet. A month later it still moved around with gravity and didn't stay stuck to the surface. Pours too thickly. It looks like this for roofs only.
But don't let me stop you.
But don't let me stop you.
#63 Re: DL8 modding
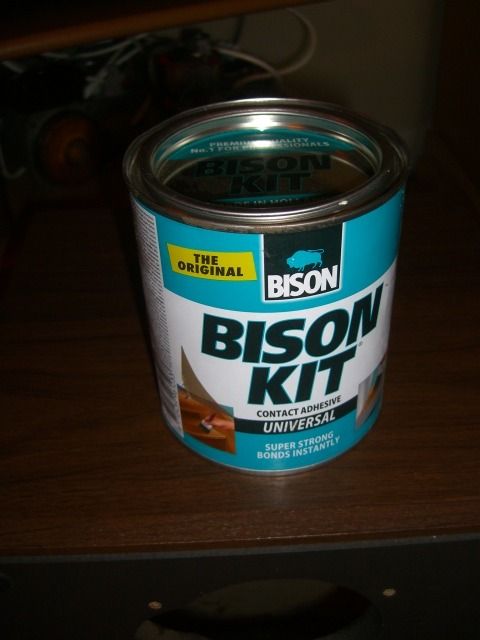
I can only advise that you follow Doc's advice Paul and get some Bison Kit contact adhesive and Plasti Dip for the doping job.
Your project is coming along nicely.
Your project is coming along nicely.
-
Dave the bass
- Amstrad Tower of Power
- Posts: 12276
- Joined: Tue May 22, 2007 4:36 pm
- Location: NW Kent, Darn Sarf innit.
#64 Re: DL8 modding
Okey dokey, I'll go with the tried and tested Bison Kit option then.
EDIT. Ordered and on the way.
Onwards, to stickytown!
EDIT. Ordered and on the way.
Onwards, to stickytown!
"The fat bourgeois and his doppelganger"
-
Dave the bass
- Amstrad Tower of Power
- Posts: 12276
- Joined: Tue May 22, 2007 4:36 pm
- Location: NW Kent, Darn Sarf innit.
#65 Re: DL8 modding
Doh! It was all going so well this afternoon....
Drivers removed, cabinet vacuumed free of dust...
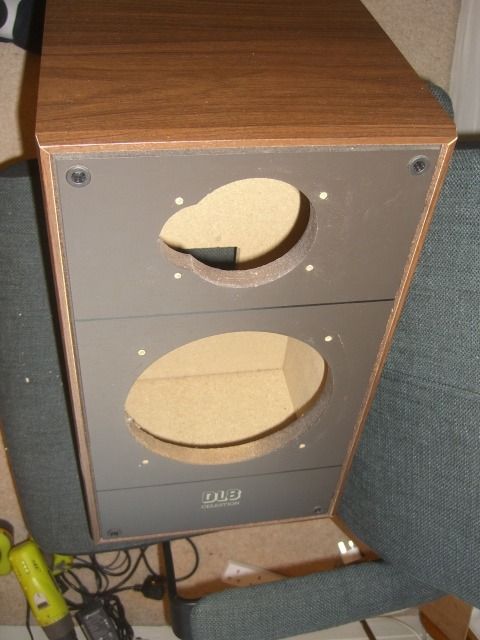
...in preparation for steel plate template experiments...
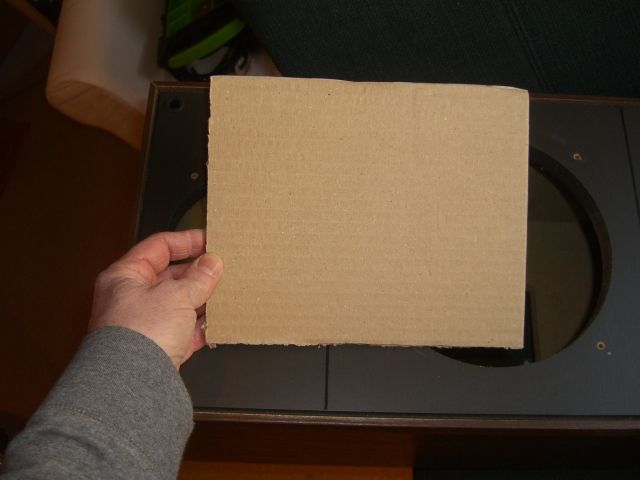
180mm x 220mm x 3mm plate 8 off per per speaker will cover the internals almost completely and is 'installable' through the mid/bass driver hole...
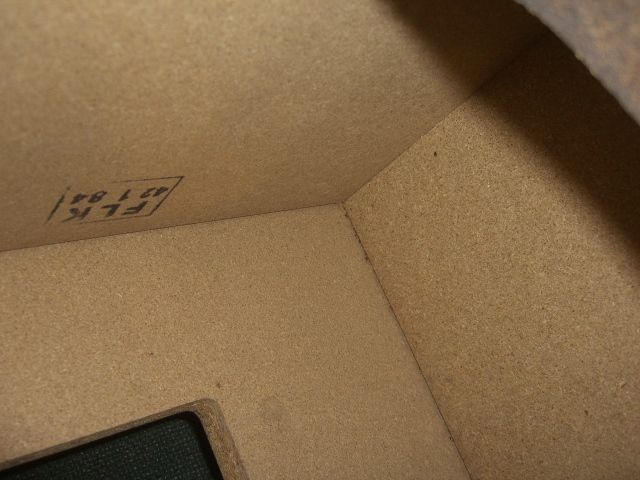
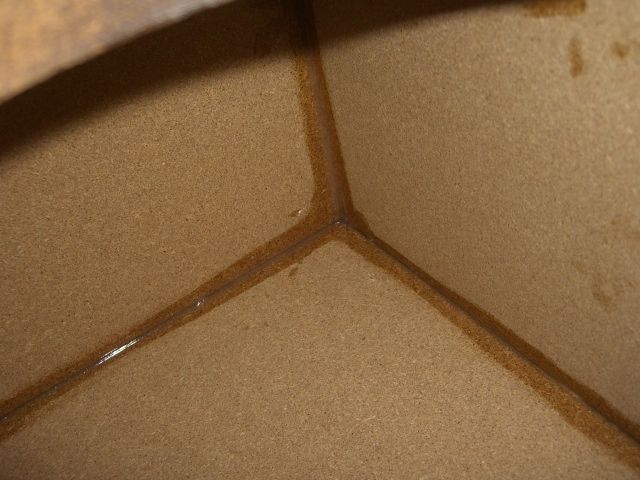
So, onwards, lets make sure all the cabinet joints are properly sealed and air tight using a skillfully applied thin bead of silicone sealant all the way round the internals...
In true Blue Peter style, lets put that to one side whilst the Sealant sets and get to work doping the driver with...
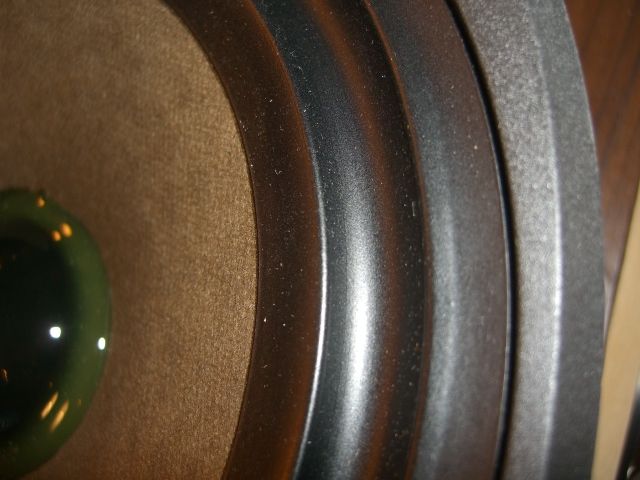
Yey, super neat application over the dust cover and nice dribble-age (its a technical word) into the dustcover-meets-cone-groove...
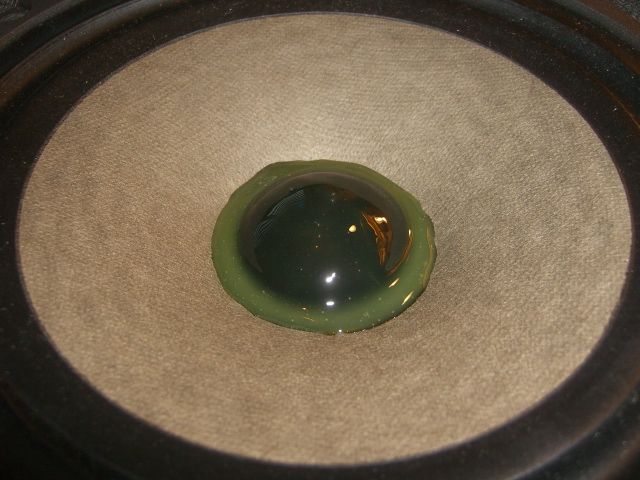
Wait about 30 mins while having a coffee, and hey presto...
...erks! The Bison Kit glue has reacted with the material the dust cover is made from and started distorting and pulling up round the edges eventually removing itself from the and free from the paper cone surface! Double erks!
Hmm, <scratches hairy chin>. I'm very tempted to glue a nice round shaped 'thing' in the dust cover's place. The idea of the doping process is I believe to damp the cone and increase mass, perhaps a nice round coin or suchlike?
Drivers removed, cabinet vacuumed free of dust...

...in preparation for steel plate template experiments...

180mm x 220mm x 3mm plate 8 off per per speaker will cover the internals almost completely and is 'installable' through the mid/bass driver hole...

So, onwards, lets make sure all the cabinet joints are properly sealed and air tight using a skillfully applied thin bead of silicone sealant all the way round the internals...

In true Blue Peter style, lets put that to one side whilst the Sealant sets and get to work doping the driver with...

Yey, super neat application over the dust cover and nice dribble-age (its a technical word) into the dustcover-meets-cone-groove...

Wait about 30 mins while having a coffee, and hey presto...

...erks! The Bison Kit glue has reacted with the material the dust cover is made from and started distorting and pulling up round the edges eventually removing itself from the and free from the paper cone surface! Double erks!
Hmm, <scratches hairy chin>. I'm very tempted to glue a nice round shaped 'thing' in the dust cover's place. The idea of the doping process is I believe to damp the cone and increase mass, perhaps a nice round coin or suchlike?
"The fat bourgeois and his doppelganger"
-
Dr Bunsen Honeydew
- Old Hand
- Posts: 1358
- Joined: Mon Sep 21, 2009 10:50 am
- Location: Muppet Labs
#66 Re: DL8 modding
Once the glue dries the dome will go back into shape. The Bison kit should largely peel off the cone. Re-fit the dust cap using superglue, put a trail of superglue in the joint once set in place, or press in a thinnish worm of bluetack. Then you can start on the cone again with Bison. I had this problem on a driver in the past, superglue is what I used, bison doesn't loosen that.
If the dust cap has gone then a small circle of two ply cardboard will do the job I should think. Stop glue going down round the voice coil and drying, use a spirit or isopropyl to dilute and release if it does.
If the dust cap has gone then a small circle of two ply cardboard will do the job I should think. Stop glue going down round the voice coil and drying, use a spirit or isopropyl to dilute and release if it does.
-
Dave the bass
- Amstrad Tower of Power
- Posts: 12276
- Joined: Tue May 22, 2007 4:36 pm
- Location: NW Kent, Darn Sarf innit.
#67 Re: DL8 modding
OK, will do, I'll see what shape the dust cap is (physically!) in the morning then resume.
Ta for the guidance Richard.
Ta for the guidance Richard.
"The fat bourgeois and his doppelganger"
-
Dave the bass
- Amstrad Tower of Power
- Posts: 12276
- Joined: Tue May 22, 2007 4:36 pm
- Location: NW Kent, Darn Sarf innit.
#68 Re: DL8 modding
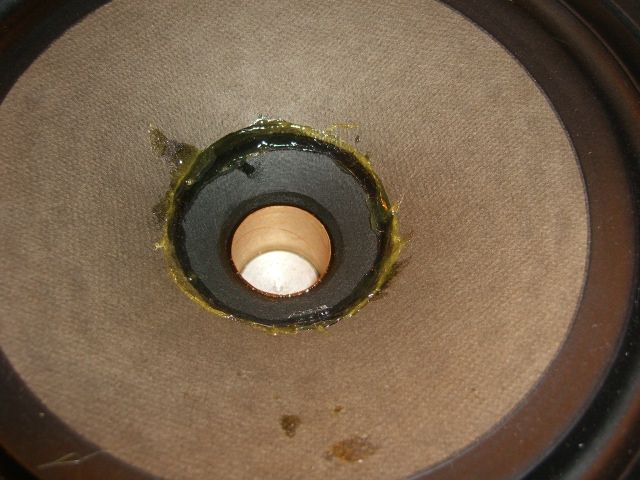
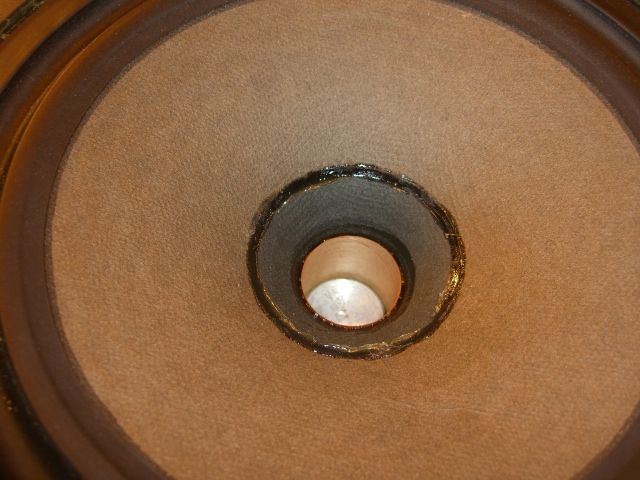
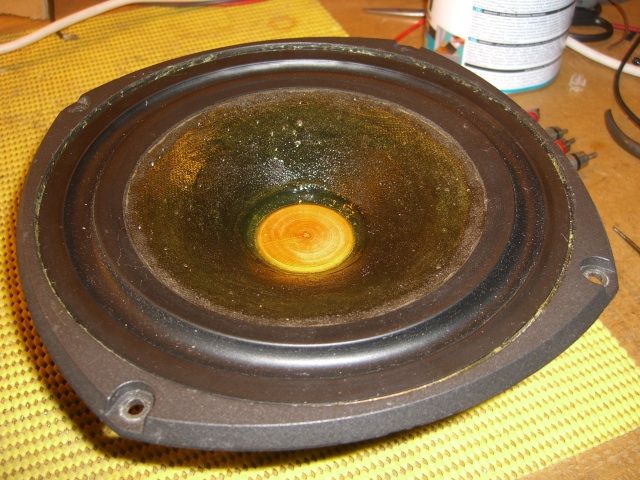
So, today the dustcap assumed this shape,...
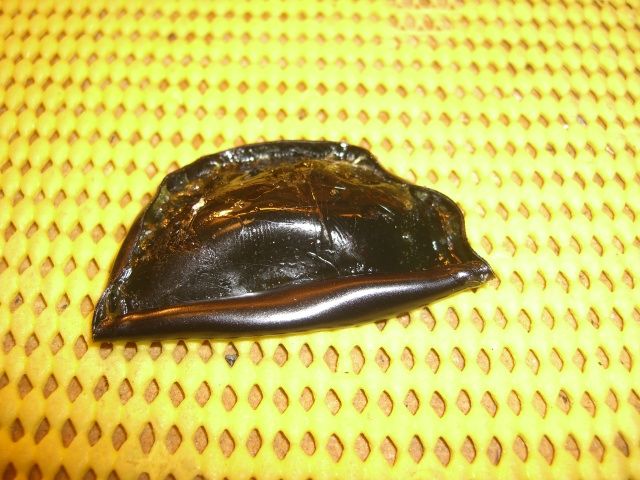
Erk! I wont be using that again then So, knowing that the I needed to get the other dust cap off to make a matched pair I did some surgery, and hey Tesco...
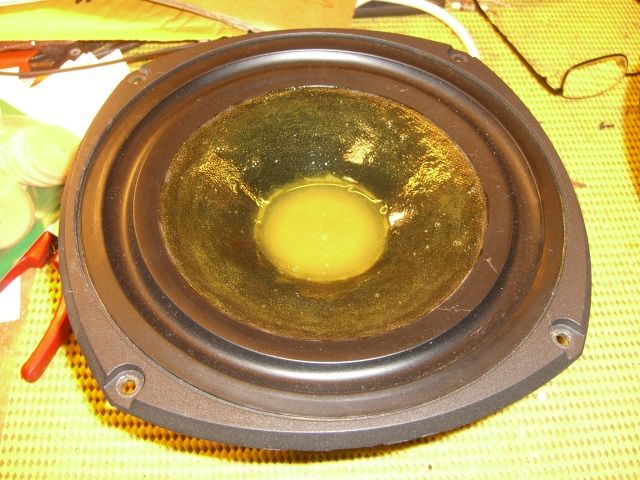
I found these handy light wooden discs in Hobbycraft, perfect size too. Carefully glueing into position...
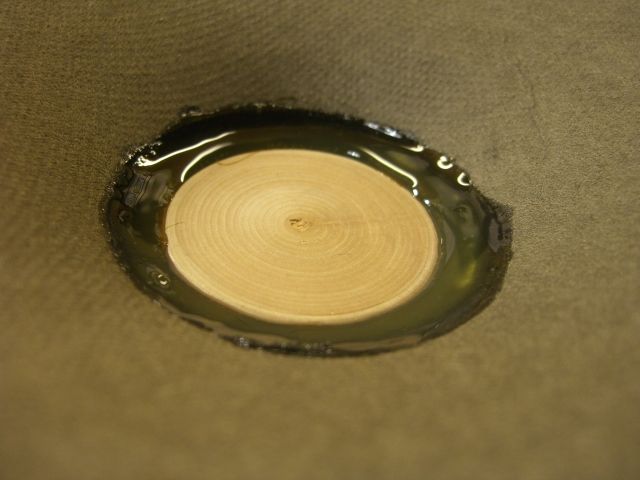
Whahey!
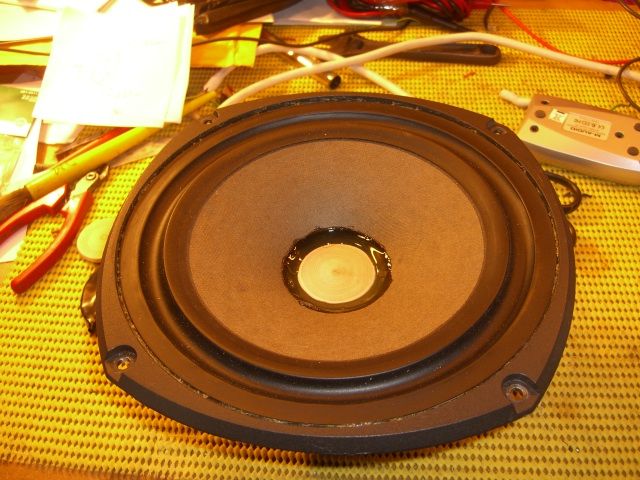
And then a very thin layer of Bison Kit applied to most of the cone surface, like a 'basecoat' when you're decorating perhaps...
The surround appears to be made of the same rubber material that the shape-changing Dust cap is made from, I'm trying to keep the Bison Kit away from the surround to avoid any more misshapen antics, good idea? Or chance it?

Erk! I wont be using that again then

I found these handy light wooden discs in Hobbycraft, perfect size too. Carefully glueing into position...

Whahey!

And then a very thin layer of Bison Kit applied to most of the cone surface, like a 'basecoat' when you're decorating perhaps...

The surround appears to be made of the same rubber material that the shape-changing Dust cap is made from, I'm trying to keep the Bison Kit away from the surround to avoid any more misshapen antics, good idea? Or chance it?

"The fat bourgeois and his doppelganger"
-
IslandPink

- Amstrad Tower of Power
- Posts: 10041
- Joined: Tue May 29, 2007 7:01 pm
- Location: Denbigh, N.Wales
#69 Re: DL8 modding
Are you sure that isn't a Pontefract cake in the top pic ?
"Once you find out ... the Circumstances ; then you can go out"
-
Dave the bass
- Amstrad Tower of Power
- Posts: 12276
- Joined: Tue May 22, 2007 4:36 pm
- Location: NW Kent, Darn Sarf innit.
#70 Re: DL8 modding
Quite sure, 3 hours later I was still chewing....
"The fat bourgeois and his doppelganger"
-
Tony Moore
- Old Hand
- Posts: 503
- Joined: Thu Aug 02, 2007 12:24 am
- Location: New Brighton
#71 Re: DL8 modding
Now I know what was missing at Eggborough when we had our Friday meetup at the Premier Inn Pontefract! 
-
Dave the bass
- Amstrad Tower of Power
- Posts: 12276
- Joined: Tue May 22, 2007 4:36 pm
- Location: NW Kent, Darn Sarf innit.
#72 Re: DL8 modding
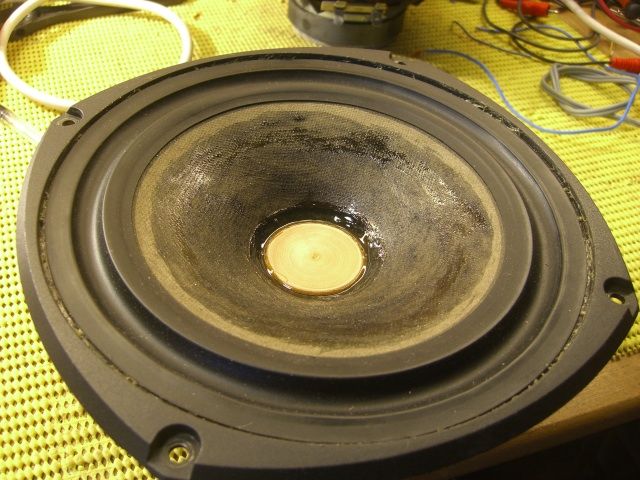
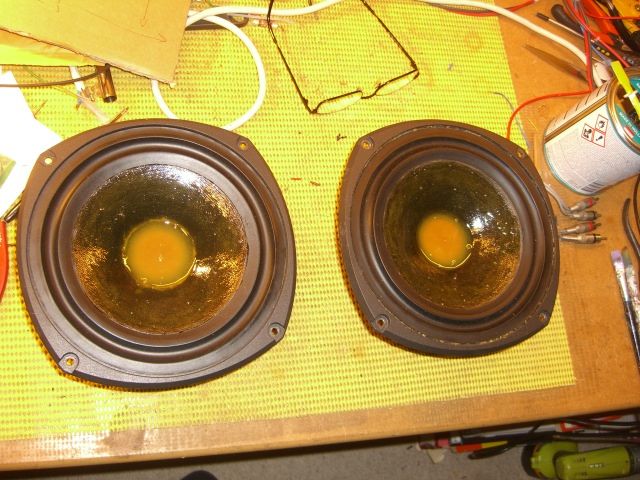
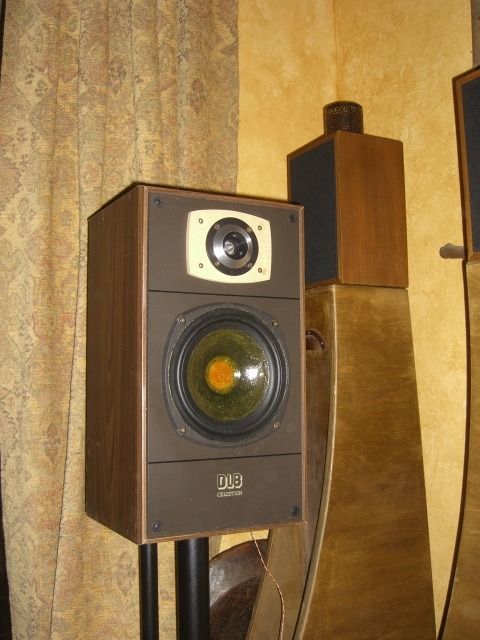
2nd and 3rd coats of Bison Kit gone on, 24hrs drying time between each session...
2nd...
3rd...
Whahey!
~ 1/3rd of a 650mL can so far....
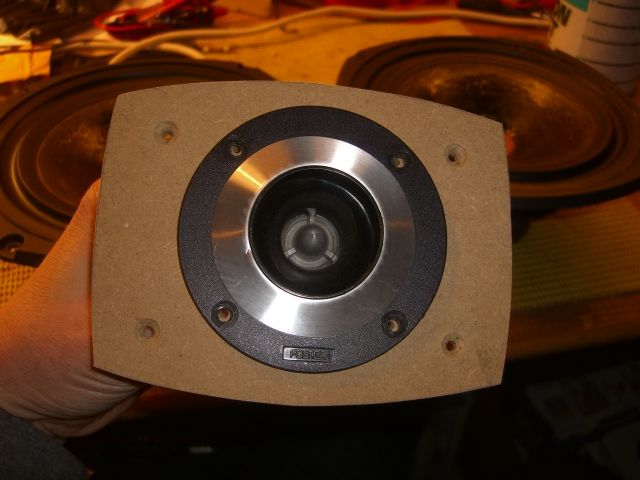
I've also tidied up the little MDF Tweeter mounts...
16 off 180mm x 220mm 3mm mild steel sheets ordered and on the way too, its been a busy week so far.
Plastidip question-time, Aerosol or paint-on? There's a few variants of it.
2nd...

3rd...

Whahey!
~ 1/3rd of a 650mL can so far....

I've also tidied up the little MDF Tweeter mounts...

16 off 180mm x 220mm 3mm mild steel sheets ordered and on the way too, its been a busy week so far.
Plastidip question-time, Aerosol or paint-on? There's a few variants of it.
"The fat bourgeois and his doppelganger"
-
Dr Bunsen Honeydew
- Old Hand
- Posts: 1358
- Joined: Mon Sep 21, 2009 10:50 am
- Location: Muppet Labs
-
Dave the bass
- Amstrad Tower of Power
- Posts: 12276
- Joined: Tue May 22, 2007 4:36 pm
- Location: NW Kent, Darn Sarf innit.
#74 Re: DL8 modding
PlastiDip has come, still waiting for the 16 x steel plates.
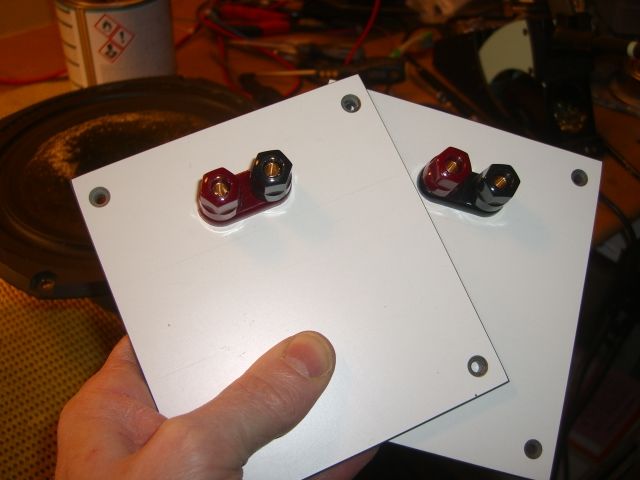
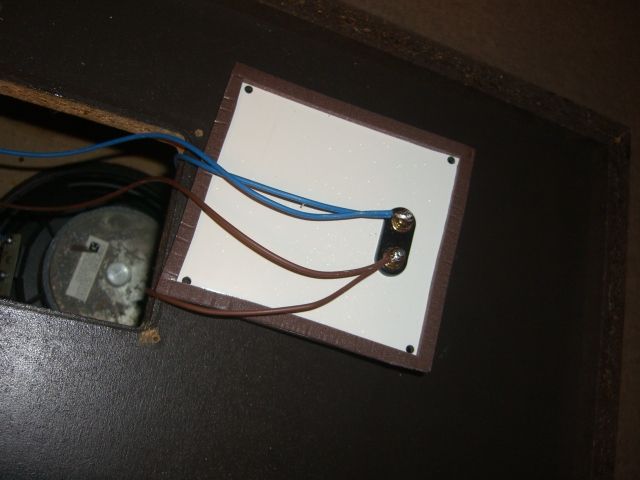
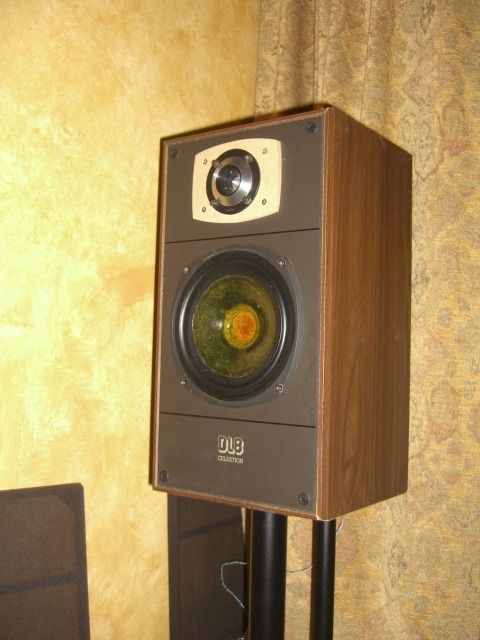
I've been busy again fettlin'. I gave the cones a 4th coating of Bison Kit and then left the whole caboodle to dry and set for a few days. In the meantime I made some solid Trespa plates to cover up where the old speaker terminals used to go and fitted airtight speaker binding posts to the rear, nothing fancy.
Then with narrow self adhesive draught excluder I ran a carefully cut border around the outside of each plate to ensure there are no leaks at all from the cabinets, I painstakingly ran a silicone bead all around every cabinet joint on the inside too, very time-consuming but hopefully rewarding in the long run.
I noticed the old sealing gasket around the mid/bass unit had seen better days and carefully removed all that too and fitted a nice bead of new draught excluder in its place...
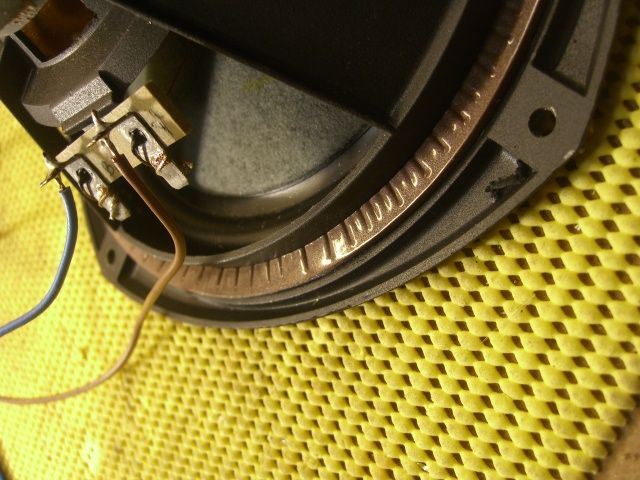
and...

And then thought, hmmm, I wonder how they sound right now without PlastiDip or steel plates....
and...
I've been busy again fettlin'. I gave the cones a 4th coating of Bison Kit and then left the whole caboodle to dry and set for a few days. In the meantime I made some solid Trespa plates to cover up where the old speaker terminals used to go and fitted airtight speaker binding posts to the rear, nothing fancy.

Then with narrow self adhesive draught excluder I ran a carefully cut border around the outside of each plate to ensure there are no leaks at all from the cabinets, I painstakingly ran a silicone bead all around every cabinet joint on the inside too, very time-consuming but hopefully rewarding in the long run.

I noticed the old sealing gasket around the mid/bass unit had seen better days and carefully removed all that too and fitted a nice bead of new draught excluder in its place...

and...

And then thought, hmmm, I wonder how they sound right now without PlastiDip or steel plates....

and...

"The fat bourgeois and his doppelganger"
